
When it comes to learning how to flush a radiator, the first step is knowing how important it is to do. The radiator is a crucial component of a vehicle’s cooling system – without it you can’t keep it from overheating. Routine radiator maintenance is an essential role in the overall health of a car. Knowing how to flush a radiator (or having an auto repair center do it for you), is a crucial step when it comes to maintenance.
What is a Radiator and What’s it’s Function?
Radiators are only part of an intricate cooling system that’s designed to keep the engine running at the right temperature. Most of today’s radiators are composed of an alloy core with attached plastic end tanks. The alloy core is made up of narrow passageways (tubes). Coolant (antifreeze) is pumped through the narrow passageways after it enters through an end tank. When the coolant passes through the passageways, incoming airflow from the car’s movement pulls the heat out of the coolant before it can make its way back into the engine.
Why Does the Radiator Need to Be flushed?
A vehicle’s cooling system is dependent on quality coolant that’s been screened under extreme temperatures and is without particles or dirt that can affect performance and can end up corroding engine components. This is why it’s so important to learn how to flush a radiator or have someone do it for you on a regular basis. Doing so at the right time (see owner’s manual) or mileage intervals, will ensure optimum cooling performance and engine health.
How to Flush a Radiator
The following steps offer practical advice and guidance on flushing the radiator yourself – an affordable solution if you know your way around an engine, and have the appropriate tools. As always, keep safety in mind and protect yourself accordingly. Your vehicle may be different, so contact us if you’d like a professional to work on your car.
- Step 1: Be sure that the engine is cool before starting: Don’t work on a radiator flush if the engine is warm or hot. Coolant can get extremely hot and retains the heat for hours after the engine has stopped running.
- Step 2: Jack up the front of the vehicle: Jacking up the front of the vehicle will make it a lot easier to reach the radiator’s drainage point.
- Step 3: Clean the radiator: Pop the hood, locate the radiator, and clean it, removing all grime and dirt (particularly around the radiator cap). This step ensures that dirt and debris don’t drop into the radiator, causing problems in the cooling system.
- Step 4: Check the condition of the radiator: Inspect the radiator, looking for signs of corrosion and rust that could end up affecting the cooling system’s performance. In addition, check out the hoses that run from the radiator to the engine for signs of damage and leaks.
- Step 5: Put a bucket under the radiator drainage valve: Use a good-sized bucket or container that’s big enough to hold all the fluid that drains from the radiator. Place it under the drainage valve, typically located on the bottom of the radiator (right or left side).
- Step 6: Open the drainage valve: Wearing gloves, open the bolt that’s on the drainage valve. Once you do, the coolant will start draining out. Once the flow of the coolant is down to a drip, tighten up the valve until you are ready to flush the radiator. Next, store the old coolant safely and put aside.
- Step 7: Flush the radiator: Flush the radiator out with water and eliminate leftover residue, dirt, and debris from the old coolant. Fill the radiator with clean water with a hose. Replace the radiator cap. Start the engine and let it run for approximately 15 minutes. Next, turn it off and let the engine cool completely. Repeat the steps again to drain the water from the cooling system.
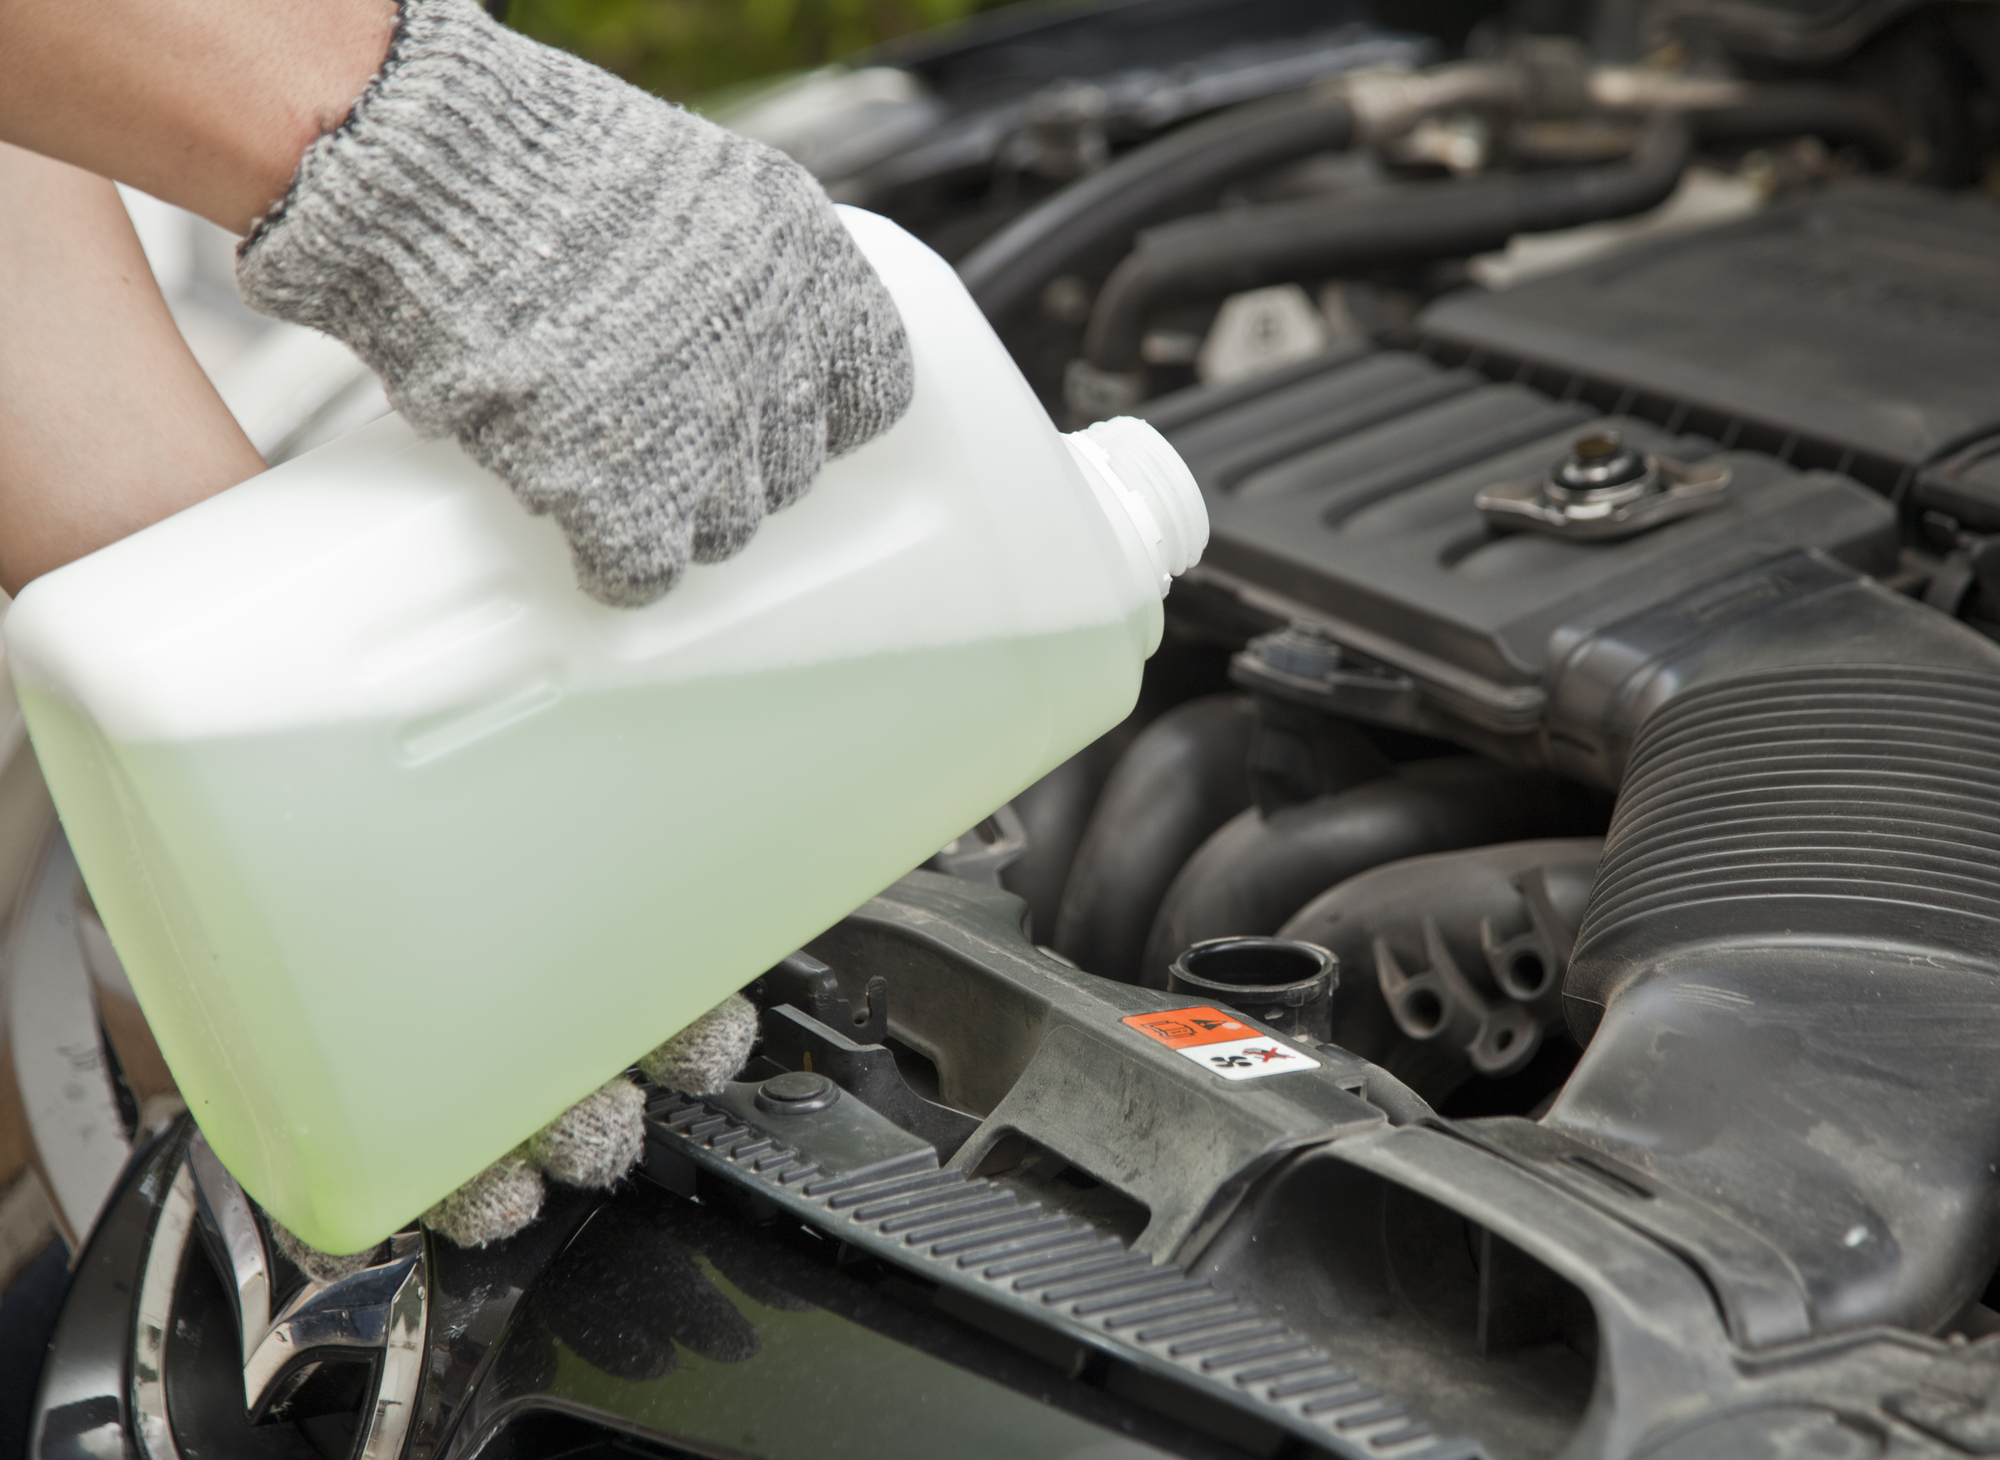
- Step 8: Add new high-quality coolant: Add new, high-quality coolant to the reservoir, up to the fill line. Once filled, without replacing the cap right away, run the engine again for 15 minutes with the vehicle’s interior heater turned up to the maximum setting (this gets rid of remaining air pockets from the radiator). Then, turn the engine off and put the radiator cap on. Make sure you check the coolant level over the next couple of weeks in case it needs to be topped off.
Coolant is dangerous and must be disposed of properly. Used coolant is regulated as hazardous, toxic waste as it can contain hazardous contaminants, including lead and ethylene glycol. Take your old, used, or tainted coolant to a recycling center, or auto care shop.
If you’d like to save the hassle, contact us to have your car serviced.


Join the discussion One Comment